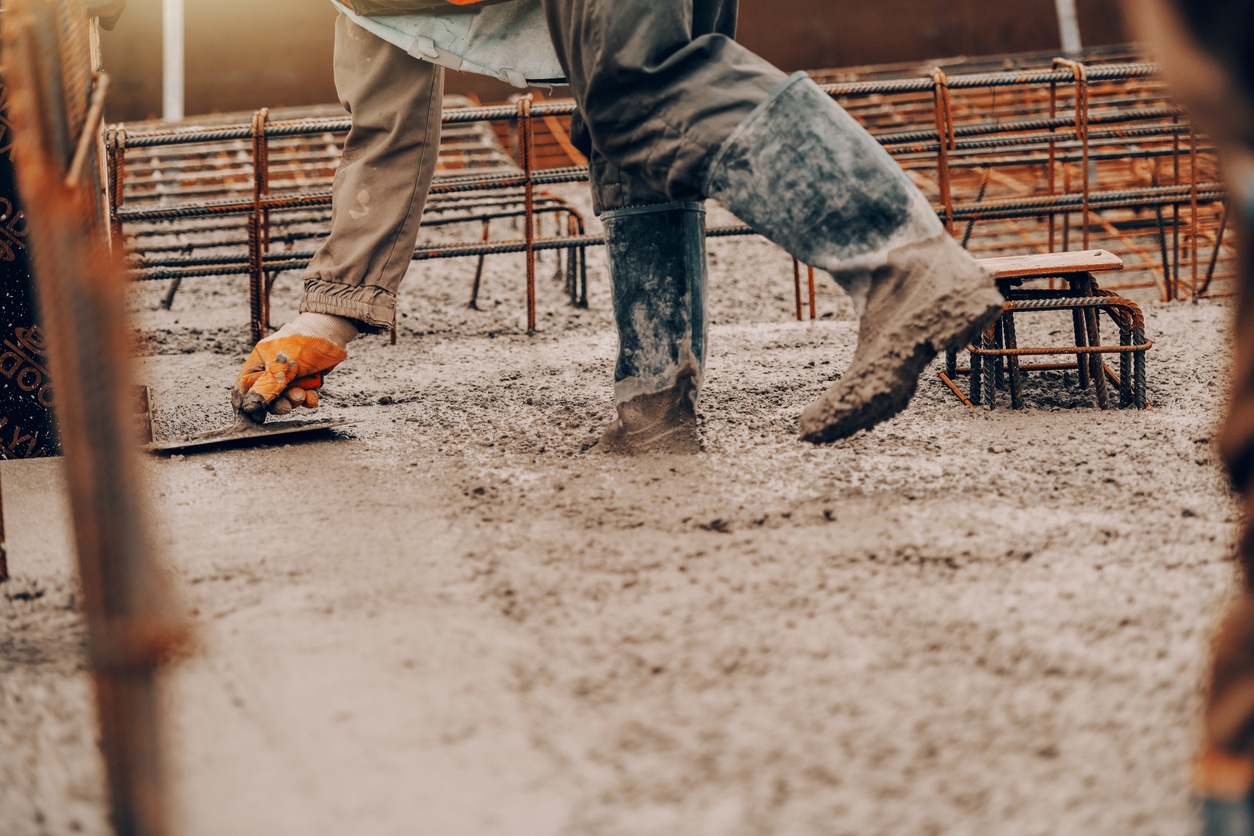
Concrete is a ubiquitous material used in both commercial and residential construction due to its…

How to Repair Cracks in Your Concrete Surface
If you own or manage a commercial property, you know how important it is to maintain the exterior surfaces. Not only does proper maintenance on concrete surfaces protect against more costly repair expenses down the road, but it also helps create a professional atmosphere with your clients and visitors.
Cracks are some of the most common issues that arise with concrete surfaces. Cracks can be caused by weather conditions, ground movement, or inadequate support. Luckily, those cracks don’t have to be cause for alarm when they appear if you react quickly and use appropriate repair methods! In this blog post, we’ll discuss how to properly assess damage and make repairs for different kinds of concrete surface cracks.
Step One: Identify the Type of Crack in Your Concrete Surface
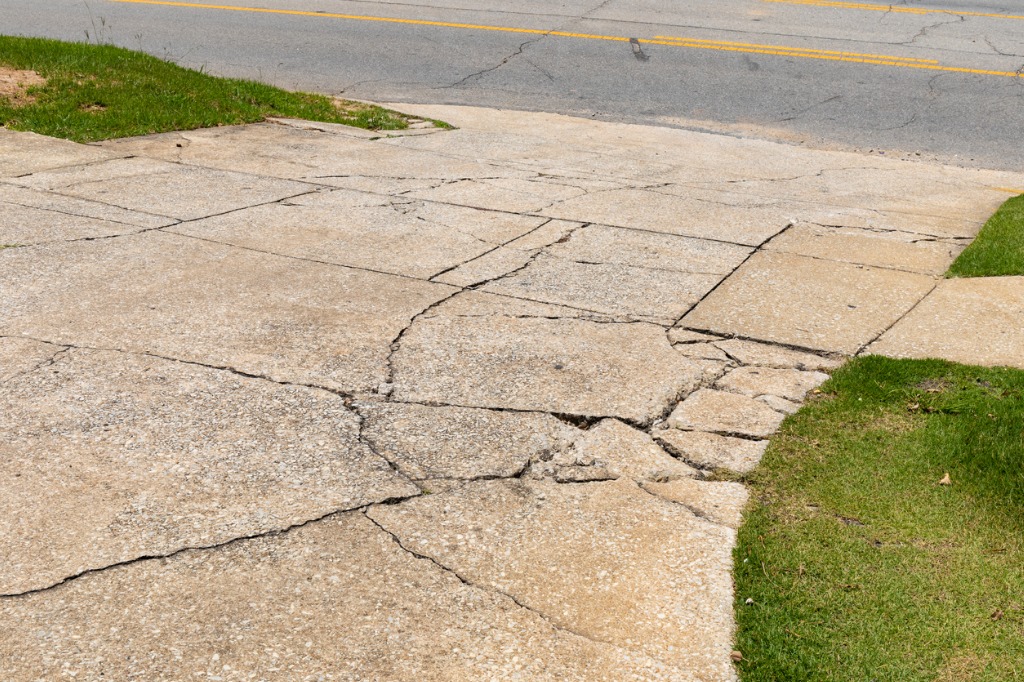
When it comes to repairing cracks in your concrete, the first step is to identify the type of crack you’re dealing with. Knowing whether it’s narrow, wide, or expanding will help you determine the best course of action.
Narrow cracks are typically less than ¼-inch wide and can be repaired using a simple concrete patching compound. Wide cracks, on the other hand, are usually wider than ¼-inch and may require a more involved repair process that involves filling the crack with foam backer rod and then applying a concrete patch. Finally, if you’re dealing with an expanding crack, it’s important to address the underlying cause of the crack before attempting to fix it.
By taking the time to properly identify the type of crack you’re dealing with, you can save yourself time and money in the long run by ensuring that you’re using the correct repair method.
Step Two: Clean the Area Around the Crack
When it comes to repairing cracks in your concrete, cleaning the area around the crack is a crucial step. A pressure washer and detergent can be used to remove any dirt or debris that may have accumulated around the crack, ensuring a clean surface for the repair to adhere to.
It’s important to thoroughly clean the area as any leftover debris could compromise the effectiveness of the repair. Taking the time to properly clean the area around the crack will set you up for a successful repair and prevent any further damage from occurring.
Step Three: Fill the Crack with a Cement-Based Patching Compound
The third step in the process is to fill the crack with a cement-based patching compound. Using a putty trowel, you can apply the patching compound with ease. This will ensure that the crack is fully filled and protected from further damage.
It’s important to let the compound dry completely before moving onto the next step, as this ensures a strong and lasting repair. By following these steps, you can be confident that your concrete will look and function like new once again.
Step Four: Smooth Out the Patching Compound with Sandpaper or a Wire Brush
The fourth step is to smooth out the patching compound with sandpaper or a wire brush. This step can help ensure that the patch is flush with the surrounding surface, making it blend in seamlessly and look as good as new. Sandpaper is a great tool to use in this process, as it allows you to precisely control how much material you’re removing at any given time.
By taking your time and using a fine-grit sandpaper, you can achieve a smooth finish that will be virtually indistinguishable from the original surface. Alternatively, a wire brush can also be used to help remove any rough or uneven patches of the compound and leave behind a polished finish.
Step Five: Seal the Patched Area with Sealant
This step will provide added protection against moisture and weather damage that could potentially cause new cracks to form. The sealant acts as a barrier, preventing water from seeping in and causing further damage.
It also helps prolong the lifespan of your repaired concrete, ensuring it stays strong and in good condition for years to come. Applying the sealant is a simple process but is a crucial step to follow to ensure the integrity of your repaired concrete.
Step Six: Prevent Future Cracks by Applying a Protective Coating
After you have successfully repaired a crack in your concrete, the last thing you want is for it to happen again. That’s where applying a protective coating comes in. There are three types of coatings to choose from: water-based acrylic, epoxy, and polyurethane. Each one has its own unique benefits, so it’s important to choose the right one for your specific needs.
Water-based acrylic is a great option for those on a budget, while epoxy provides a strong and durable finish. Polyurethane coatings are great for resistance against chemicals and abrasion. No matter which coating you choose, applying it will help protect your concrete from future cracks and damage.
Maintaining the condition of your concrete surfaces on your property is essential to prevent further damage and injury. You may not know it, but cracks in your concrete can lead to a variety of dangerous scenarios; therefore, it is truly important that you take proactive measures with crack repair as soon as possible.
Remember that you don’t always have to replace damaged sections of concrete. Depending on the severity of the crack, professionals may suggest full or partial replacement or an overpour as more cost-effective solutions. Additionally, there are a few DIY repair kits available on the market for small projects.
However, if you feel like DIYing isn’t up your alley, don’t hesitate to consult with K&E Flatwork for commercial concrete installation and repair in Kansas City! Our experienced team will assist you in creating long-lasting repairs with guaranteed workmanship and quality materials.
Related Posts

This Post Has 0 Comments